


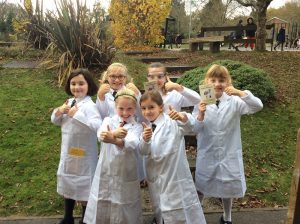
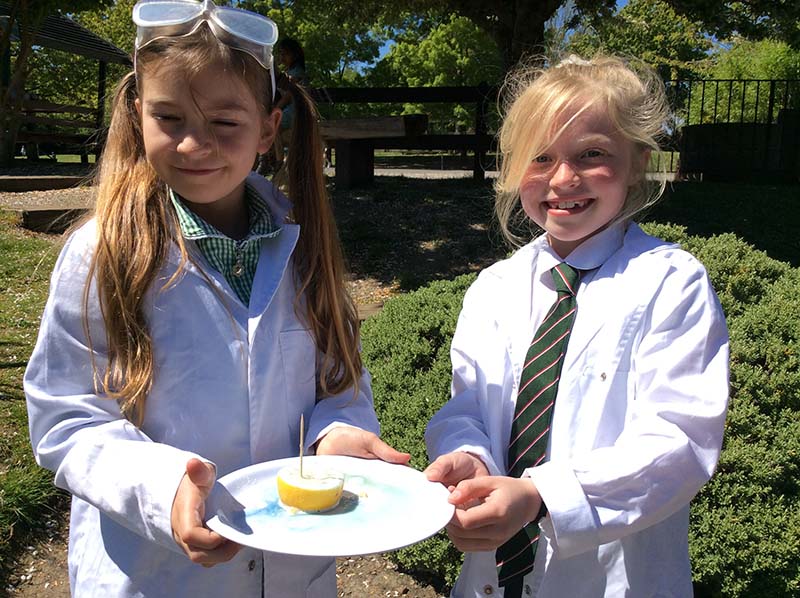
We are very proud to introduce our Young Science Ambassadors!
Saskia, Charlotte, Freya, Leah, Megan and Helena are on a mission to encourage the rest of the school to love Science as much as they do.
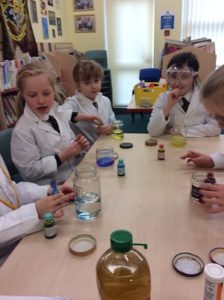
Every Monday lunchtime they are going to be taking part in Science Club with Mrs Matthews where they will be increasing their scientific knowledge through experiments, exploration and hands-on fun!
Our budding Year One scientists have been exploring Everyday Materials the last few weeks. They’ve become confident at identifying different materials such as wood, plastic, metal, glass and rock.


On Monday 8th July our Young Science Ambassadors hosted the first ever Farnborough Science Fair. Children, parents and staff enjoyed watching demonstrations and taking part in a range of exciting Science experiments. All across the school children were investigating the answers to various scientific questions.
Examples included:
A huge thank you to all our visitors who came along.


Your Equipment:
• Baking soda
• Vinegar
• Syringes ( or eye droppers)
• Food colouring
Method:
1. Scoop 4 big spoonfuls of baking soda into a bowl
2. Add 2-3 drops of food colouring
3. Pour 2 teaspoons of water into the bowl
4. Mix
5. Add the vinegar using the syringes.
6. Watch your bubbling rainbow!
What is the Science behind this experiment? When baking soda and vinegar are mixed together, hydrogen in the vinegar reacts with the sodium and bicarbonate in the baking soda. It forms carbon dioxide gas.

Is it possible to make water ‘float’ inside a glass turned upside down without it pouring out? When you are a Science expert you can make it happen!
This is what the Young Science Ambassadors experimented with this week:


In our role as Young Science Ambassadors, we were lucky enough to visit Bromley High School where we went to both the Science Laboratory and the Technology and Engineering Department.
Initially, we went to the Science Laboratory where we were asked to use our investigative skills to carry out test tube reactions to test for the non-metal parts of salts. This involved putting samples into test tubes and adding nitric acid to it. We found out that if the sample fizzes, then it is a salt called carbonate. If the sample did not fizz, then we had to add either silver nitrate solution or barium chloride sodium to it to see whether it turned cloudy or not. If it did, the sample either contained chloride or sulphate.
After that, Dr Rowley and Mrs Flower-Pettman carried out flame tests to look for the metal part of salts. The colour of the flame when it was heated in a bunsen burner told us which metal was present in the salt.
It was then time to take part in a fire writing activity. We had great fun watching letters and symbols appear on our filter paper.
The fun didn’t stop there as we continued to the Technology and Engineering Department where Mrs Packham (Saskia’s Mum) works. We were given our very own pencil holders that Mrs Packham had cleverly made! She showed us the different machines that she used -the laser cutting machine, the vinyl cutter and the strip heater. We were very impressed.
A huge thank you to Mrs Packham for driving us there and back!


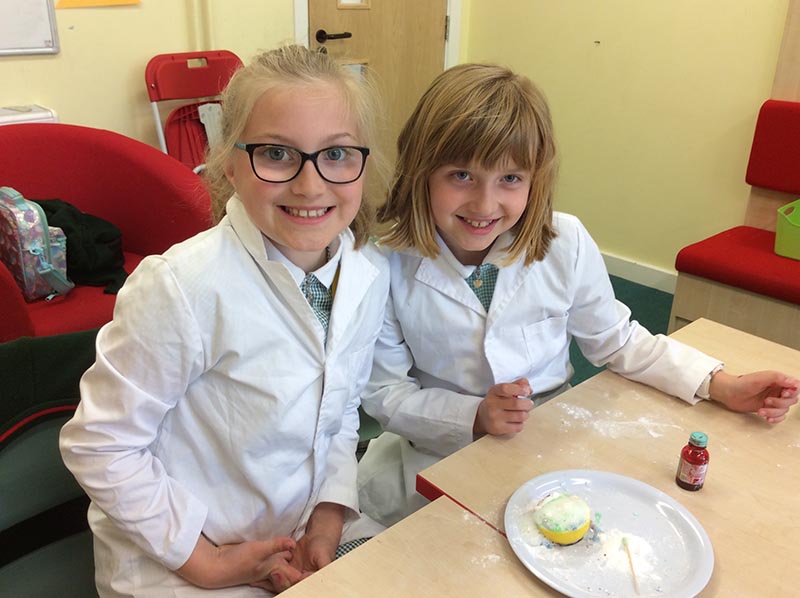
 The best part of this fun, messy science experiment is that it uses items that you probably already have at home. Follow the instructions below to make one of your own:
You will need:
This is all because of a chemical reaction: The citric acid from the lemon juice is reacting to the bicarbonate of soda creating carbon dioxide gas. The washing up liquid helps capture the gas so we can see it as bubbles during the reaction.
Would this work as well with limes? Would else could you use?

Today we explored physics by trying to sew an ice cube!
Salt lowers the melting point of water so the ice melts. But the water quickly refreezes, trapping the string in place.


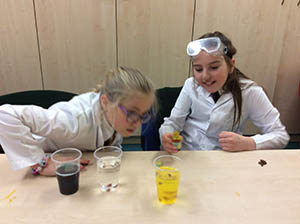
Most people enjoy eating M & M’s. We definitely do! However, today’s investigation involved using M & M’s rather than eating them. We wanted to see if we could manage to dissolve the ‘M’ off an M & M…
The colour begins to dissolve and sinks to the bottom. The ‘m’ floats to the surface of the water.
The ‘m’ doesn’t dissolve in water and is attached to the chocolate with an edible glue that dissolves in warm water. Since the letter is less dense than water, the letter peels off and floats as the rest of the chocolate shell dissolves.
You could use hot/cold water instead of room temperature water. You could try other liquids such as vinegar or vegetable oil.


Today we investigated the effect of water on wood after discussing how annoying it is when front doors become difficult to open and close after it has been raining heavily!
1. Collect 5 toothpicks and bend in the middle, but do not break them completely.
2. Place them in a circle with the broken points touching one another.
3. Carefully put a few drops of water in the middle.
4. Wait and watch as they glide into place to form a star like synchronised swimmers!
The water makes the wood expand, the broken ends press against each other and the toothpicks open out. The same thing happens to doors when it’s humid- they swell up and get jammed.
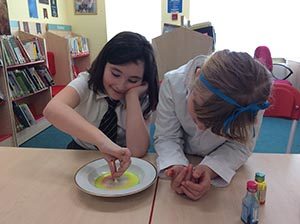
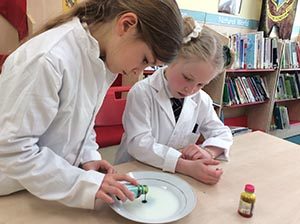 Colour Changing Milk
Today’s session involved investigating liquids and how they react with each other.
This was the method that we followed:
 What’s Happening?
Milk is mostly water, but it also contains vitamins, minerals, proteins, and tiny droplets of fat suspended in solution. The molecules of fat bend, roll and twist in all directions as the soap molecules race around to join up with the fat molecules. During this, the food colouring molecules are bumped, providing an easy way to observe all the invisible activity. As the soap becomes evenly mixed with the milk, the action slows down and eventually stops.
Today we were very excited as we helped out in the Year 2 classes during their Science lessons.
Both classes were carrying out a practical lesson which was similar to the one that we carried out in Science Club yesterday so we were able to share our Scientific knowledge with them.
They were investigating yeast in preparation for their ‘Pudding Lane Day’ next week where will be baking their own bread. We are hoping that we get a taste of a freshly baked bread roll in return!


First we gathered up our equipment:
To activate the yeast we needed to warm it up so we filled the bottle up with 3cm of warm water. We then added a teaspoon of yeast and gently swirled the bottle for a few seconds. Next we then needed to give it energy by feeding it so we added a teaspoon of sugar and swirled the bottle again. Finally we placed the neck of the balloon over the neck of the bottle and left it in the sunshine for about 20 minutes. To our excitement our balloons then started to inflate!
How Does It Work?
As the yeast eats the sugar it releases a gas called carbon dioxide. The gas fills the bottle and then fills the balloon as more gas is created.
Next time:
We thought about what we could change if we were to do this again. Ideas included changing the size of the water bottle; changing the ‘food’ that we give the yeast eg honey or syrup and using more/less water.


 Creating Lava Lamps
This week our Young Science Ambassadors created their own lava lamps. Follow the instructions below to make one of your own:
You will need:
1. Pour the water into the jam jar/bottle until it is approximately one third full.
2. Add the oil. You may have to wait a few minutes for the oil and water to separate.
3. Add a few drops of food colouring. The drops will pass through the oil and then mix with the water below.
4. Drop the tablet into the bottle. Watch it sink to the bottom and the lava lamp begin to work!

At first the oil separates and sits above the water because it is less dense. When you add the fizzy tablet, it sinks down to the bottom and starts dissolving and creating a gas. As the gas bubbles rise, they take some of the coloured water with them. When the blob of water reaches the top, the gas escapes and down goes the water!
You could try to answer these questions:

Today we were interested in finding the answer to the question: Will lemons always float in water?
First, we put whole lemons in water and could see that they floated.
We then decided to chop the lemon into smaller pieces to see if they would still float- they bobbed happily on the surface!
We then carefully took the rind of the lemons off and popped them back into the water…and they sunk.
We discussed how when we took off the rind, we were removing the lemon’s life jacket because the rind is full of thousands of tiny air bubbles. When you take them away the flesh that’s left behind is heavier than water.
Why not try investigating this at home with limes? Let us know what you discover.
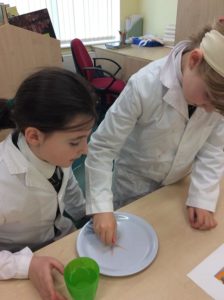
Can we make a paper clip float? That was today’s challenge in Science Club. We first tried this by putting a paper clip in a bowl filled with water and, as we expected, it sunk. We then got a piece of tissue paper and gently dropped that onto the surface of the water. Very carefully, we put the paper clip onto the tissue. Using a pencil with a rubber on the end, we carefully poked the tissue ( not the paper clip) until the tissue sunk, but the paper clip floated!
How was this possible?
This works because of something that us scientists call surface tension. It means that there is a sort of skin on the surface of the water where the water molecules hold on tight together. If the conditions are right, they can hold tight enough to support the paper clip.
We thought about other questions that we could try to answer if we were to carry out this investigation again:


Today we explored the effects of carbon dioxide. We did this by adding sultanas to both a glass of tap water and a glass of fizzy water (with a few drops of food colouring in the fizzy water so that we could distinguish between the two glasses). When they were put into the tap water, the sultanas sank to the bottom. However, when they were added to the fizzy water, they floated to the surface and then sank to the bottom- just like they were dancing!
We discussed why this was happening and how fizzy water contains a large amount of dissolved carbon dioxide. The carbon dioxide bubbles are less dense than the fizzy water, so they rise to the surface. The sultanas initially sink to the bottom as they are heavier than water, but as the bubbles start to rise to the surface, they attach themselves to the sultanas, causing them to rise too. Once the sultanas reach the surface, the bubbles supporting them pop, causing them to sink again. But they rise again as new bubbles lift them up.
Have a go at home and let us know what you find out.
You could also try different types of fizzy drinks or maybe experiment with other objects to see if you can make them dance as well!
Read on for our method of how to make water walk!


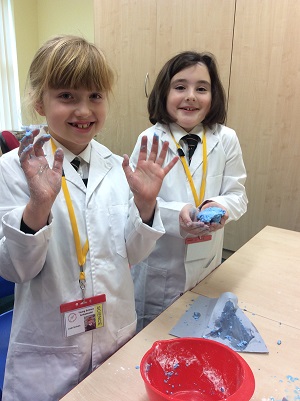
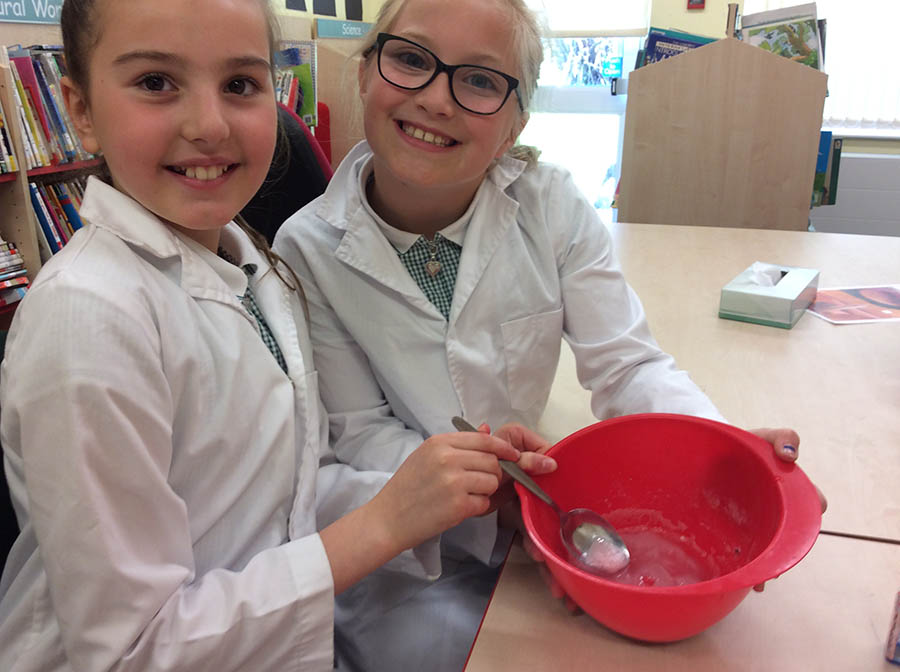
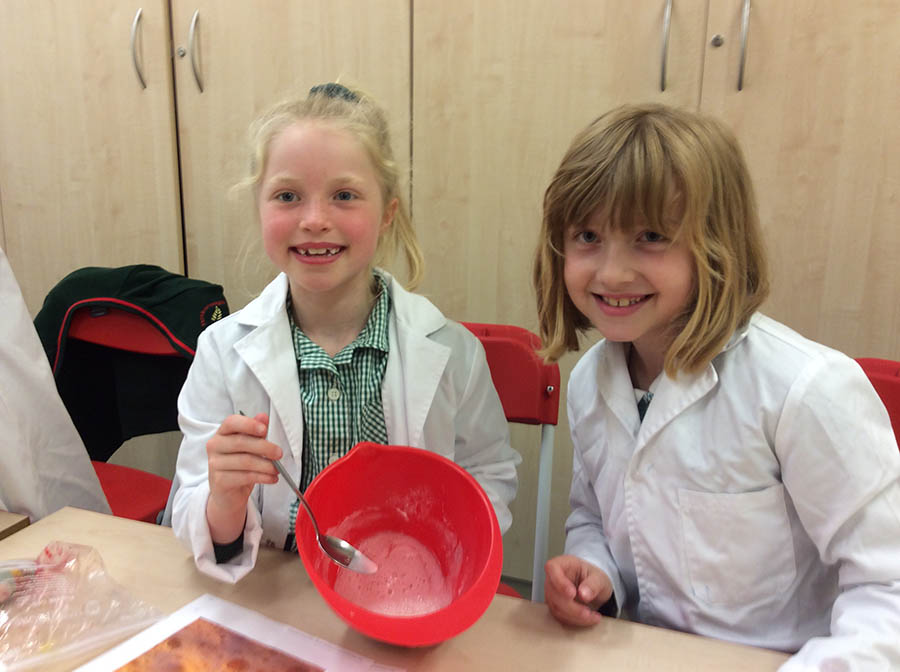
We got very messy today making our own oozy slime. We did this by using cornflour, water and food colouring. We added water to the cornflour and food colouring slowly until we had a very thick creamy mixture which felt like a stiff liquid when we were mixing it with our hands. We were amazed at how it felt a bit like rubber when we had finished mixing it, but when we squeezed it between our hands it changed so it felt soft, similar to plasticine. Almost immediately after we stopped rolling and squeezing it it flowed out of our hands like a runny, messy, oozy slime!
We investigated the science behind our slime and found out that when you mix cornflour and water together it forms what’s called a suspension or colloid: Tiny, solid particles (of cornflour) suspended in a liquid (water).
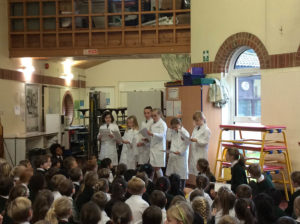
Today our Young Science Ambassadors led an assembly in which children from Years 1-6 took the opportunity to celebrate the exciting Science that classes have undertaken this term. It was a real pleasure to see the children sharing their learning in:
Today we had fun carrying out an experiment where we transformed old dull-looking pennies into pennies that became bright and shiny! We did this by putting the penny into a bowl of tomato ketchup (making sure it was completely covered) and leaving it for three minutes. We then had fun getting messy fingers by rubbing the sauce into the coins for another thirty seconds. The next step was to use water to rinse and clean all of the ketchup from the penny.
Finally, we dried the penny with a tissue. The results were amazing! Instead of dull-looking coins, we had money that was so shiny we could almost see our reflection in them! We learnt that the salt plus the acid in the tomato sauce formed hydrochloric acid and this reacted with the copper.
Why not try this at home?


")
As the Internet becomes ever more accessible, it is important to remember about using the Internet safely.
The term "Online Safety" is used to cover
this area.
For more information, CLICK HERE.
 Boys Football tournamentYear 5 and 6 boys we...
 Mini London MarathonOn Saturday 2oth Apr...
 Boys FootballThe Year 6 boys play...
 Year 5 trip to HytheYear 5 had a fantast...


